I would highly recommend Nigel Baldwin Floors for any sanding and polishing needs. He is prompt, reliable, offered great service and affordable pricing.
What We Do / Our Services
All floor sanding and polishing services.
All direct staining, tinting, and white liming.
Parquetry and cork floors.
Decks.
Stairs.
Removal of floor coverings.
Floor sanding & polishing
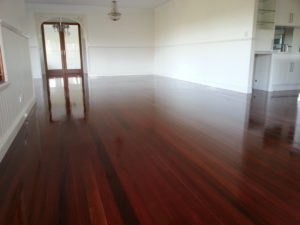
With every floor we sand and polish at Nigel Baldwin Floors we aim for visual impact. We strive to bring back even the old and tiredest looking floors back to their beautiful original condition. When you stand on one of our floors, you can feel the quality workmanship. We are proud of every job we do, from the small scale decks, to the larger workplace and residential homes. Be sure to check out our gallery to see some of our recently completed projects. If you chose us, you can rest assured that your floors will be treated with the great care and attention to detail that your floor deserves.
New & Existing Floors
We sand all solid structural tongue and groove strip timber flooring. If it’s timber; we can do it! Some older floors are existing(under carpet, covered with glue, stained ect…) and may have been there for a number of years. Just like sanding and polishing newly laid flooring, our methods will produce quality results.


Cork & Parquetry
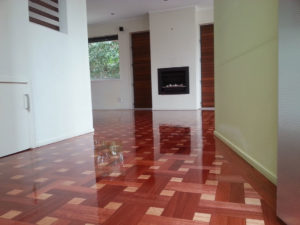
This service is one of our favourites. Cork and parquetry floors require even more sanding and coating skills for their outstanding visual quality. We can provide small repairs, however, due to the different patterns chosen in parquetry floors, you may find the whole floor needs to be resanded.
Stairs
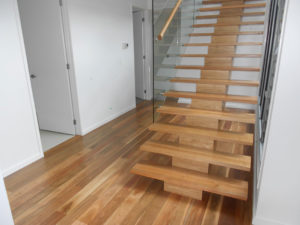
Stairs should always match the quality of the floors we finish. A different set of skill is needed and used for this application, as we need to consider that stairs are generally located in smaller / tighter spaces, and are generally done with just the edging machinery. We provide slip resistant coating products in line with the new Australian standards.


Decks
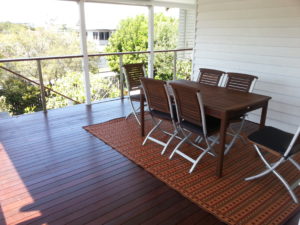
Outside decking really is a good asset to any household providing an extra area to enjoy the elements. Fantastic in Summer, but often forgotten and unused during the off season in the colder months. Decks require ongoing maintenance due to their constant outdoor exposure, which we are more than happy to provide. Some products are better than others and we can provide solid knowledge from our experience on which products best suit your lifestyle and project. All decking projects are subject to current weather conditions, and this should be considered prior to commencement.
What to Expect
Firstly, all floors will require punching and setting of any existing nails. We then make our first sand on a forty-five degree angle with our belt sander, commonly referred to as rough sand. This is to ensure we can create an even surface to then make our second pass with the floor sander in the direction of the timber grains. The second sand is commonly referred to as our “medium sand,” or “grain out.” At this point, we will also vacuum and putty your floor with the appropriate filler. We will then focus on edging the borders of your floor with our edging machines. The final pass is then undertaken with our belt sander, and is commonly referred to as the “fine sand.” Once the final pass is complete, it is important to be aware that the floor is off limits to everyone, other than the technician. This includes any other workmen / women, also contracted to be working on site, as any contact with the floor could jeopardise the result of the final finish. Any corner detailing is then taken care of. The floor is then buffed finer again with our rotary sander, so the floor is ready for application and the first coat is applied.
The first coat will dry overnight, and your floor will now be ready to be cut back again with our rotary sander. This will be an even finer sand again. Any nail holes that that may have been overlooked in the first days processes are then filled. This sanding process is crucial as it ensures adhesion of the second coat, and will reduce chances of delamination and other defects from occurring. After vacuuming the floor again, your second coat is then applied. You will notice big changes from here in appearance to the first coat which soaks into the flooring depending on porosity of the timber. Your second coat is where you will begin to notice the gloss level, and film build up looking fuller.
This is our final coating day. After all precautions and the previous two days processes are taken up to this point, it is still necessary to inspect your floor to ensure any nail holes that may possibly need refilling. The floor is cut back for the final time, to refine your floor to the smoothest and most consistent finish. This is imperative to reduce what is commonly referred to as “swirling”, where the product base acts with capillary action to adhere to the previous coats applied. This is undertaken with the rotary sander for the final time. A thorough vacuum of the floor is completed again, and the final coat, commonly known as the “master stroke”, is then applied. This will take a minimum period of 24 hours to dry before any persons will be allowed to walk on the floor. Any persons walking on the floor must be in socks or bare feet only, as after the initial 24 hour drying process, your floor will still take time to cure.
